251: Monday 27th May 2013

The front bumper line was a bit weird on one side and I could not get either of the gaps right on the infill panel between the bumper and just below the flip up lights, so I decided to fix the infill panel to the bumper permanently. I also made a small bracket to join the plastic substructure to the bumper and fibre glassed it and the substructure on.
----
I put an initial layer of fibreglass in the gap
----
When the first layer had set another layer went in to build it up to right level for a finish.
----
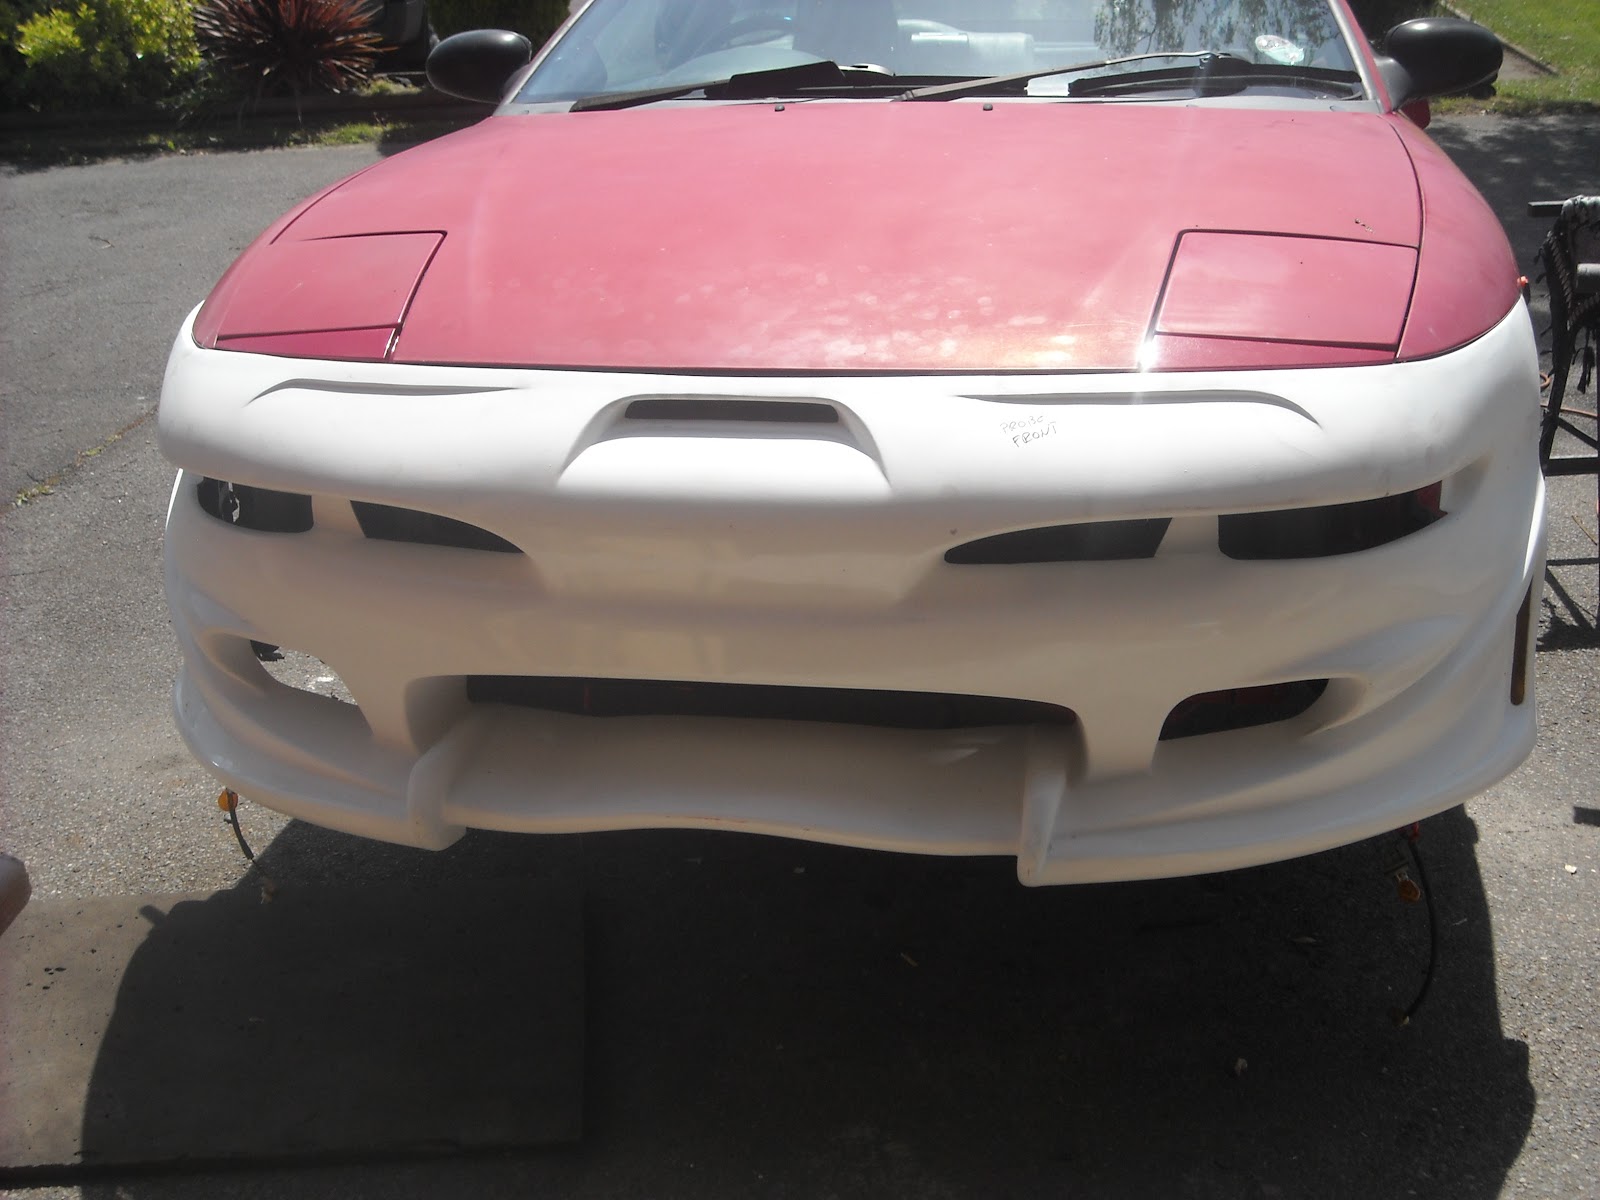
Next I sanded the fibre glass back to the level of the panel and the bumper. This revealed a row of pitted areas.
----
I put on a layer of filler. I use David's Isopon P38. Other brands are just as good, but I didn't realise that until recently, as it was all my local store had.
----
I sanded back the filler until it was just transparent and perfectly flat.
----
I put on a coat of white primer, then a coat of red. I also painted all the inside of the panel so that any part seen through a gap will be red. I ran out of day and put the bumper in the garage to dry. I wanted to have another day, but I guess it will just have to wait until the weekend unless I can do some more in the evening maybe. I am pleased with the way this has gone. I need to make a couple of brackets once the bumper is mounted to finish the fixing supports and then ready to finish the painting.

250: Sunday 26th May 2013

Started work on the front bumper yesterday. I spent some time helping with some gardening out the front as we are getting rid of our planter and having more space on the driveway for parking. I took the original bumper off and stripped the substructures and supporting bars off as well as the number plate and holder and the side lights / indicator units. Today I started with a loose fit of the front bumper. The photo below shows it hanging on the body with just a plastic clamp on each side. It was a good fit.
----
 I transferred the lights onto the new bumper. This was a simple matter of drilling the screw holes then fixing them. The substructures and support bars were all linked, so from one wheel arch, across the front to the other, everything was linked up. This made the aligning of the supports etc. really easy as then ends could only go in one place and everything else fitted well in between. Drilled all the holes and fitted it all together then mounted on the car. A few minor adjustments with a round file and it all fits well now. Tomorrow I shall be fibre glassing the sub structures to the skin or screws and nuts etc, then ready for painting.

249: Saturday 18th May 2013

With all the holes in the door and side filled I gave bottom half a blow over in red. I had sealed inside the door with polyurethane sealant and this was painted over too.
----
Wheels back on then off the axle stands.
----
Now just the front bumper and finish up the rest of the painting ready for a professional job. I still have no new batteries, so not ready to go back on the road yet. I had a short drive round to the car park to take some photos and back to my driveway and it was then dead. The duff battery I have is taking power out of the pack, so it is not really getting charged now.

----
More pics....

248: Sunday 5th May 2103

Started on a beautiful Saturday morning by removing the inner door panel. I had about 10 or 11 holes in the door where the clips for the old trim panel were. As this was not needed and would look silly now I had to fill these. With a fresh mix of fibre glass, I took my plastic scraper with some fibre glass on it inside the door and covered the holes from behind. While this was drying I went out to the summer house at the back of garden and got the other side skirt. I took off the old side skirt and trimmed a strip from it with the clips attached, fitted the strip back on then offered up the new panel. The panel would not go anywhere near the body with the clips strip attached. I took the clip strip off and offered the panel up again and checked the gap. It was a good fit, much better than the other side. By this time the fibre glass on the door was dry and I ground back the excess and spray painted with primer to stop any rusting. Then the rain came, and then the Hail came. So I went indoors and Twister was on TV, so I sat and watched, and that was Saturday.

----
Sunday was a beautiful morning, the sun was shining and I got reasonably early start (10 am). I filled the holes in the door that were fibre glassed ground back and primed the day before. I also filled the rear bumper panel as there was a dip where I had got carried away with the sander machine. I carried on with adjusting the clip strip on the other side skirt while the filler was drying. I cut more off the strip and made it so the clips were only secure on one side and could be bent in. I took one clip off altogether and cut the strip into 2 parts. The rear part was still too big, so I decided to just have one clip at the rear. I reworked one clip so it would fit under the trim, then drilled holes to mount the panel with screws. With the side panel nice and secure and fitted generally I marked the top of the trim where it meets the door ready to be trimmed later. This is necessary in order to make the door open without catching as the panel needs to drop down a few millimeters. The process was mostly the same as the other side except I kept some of the clips together on a strip of plastic to make is easier to mount them. The filler on the door dried and I rubbed it down to make it smooth. It took me 2 goes to apply the filler as it was so hot that it was going hard quite quickly. I sanded it back smooth, but the rear bumper needed another layer, so I mixed some more and put it on. More sanding and then  was ready to mask up the windows and other trim so they didn't get painted. I put primer over the bottom half of the door, generally covering my work and the rear bumper repair. A light sand by hand and I was ready to prep for painting. This involved a quick dust off with a dry micro-fibre cloth and a tissue wipe with white spirit to remove any trace of grease or other chemicals. I also sprayed a bit of the rear bumper where it had picked up some over spray of primer from another day. I sprayed the repair on the rear bumper and the rear quarter panel. I sprayed inside the edge of the door over the polyurethane sealant and then the outside of the door. I didn't have enough paint in the can to finish the door, but I got most of it done and it is not super important to be finished at this stage as  have plenty more painting to do and I can go over it again then. It is starting to look better and better.